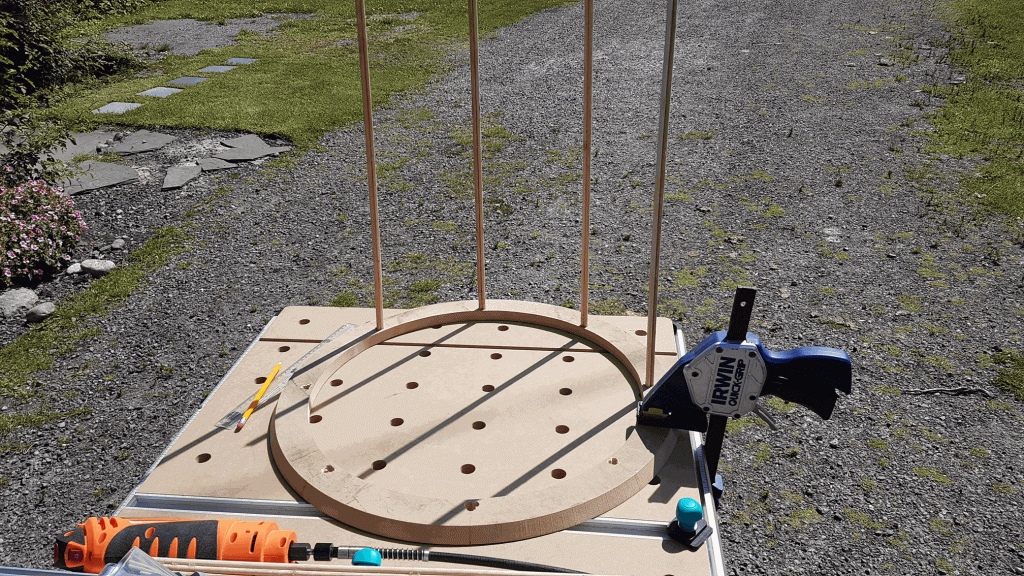
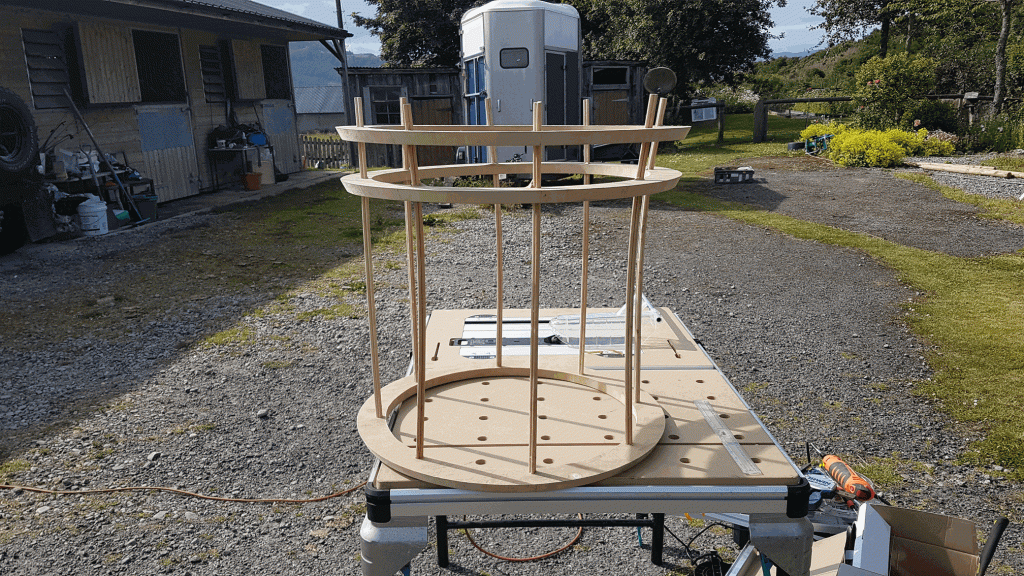
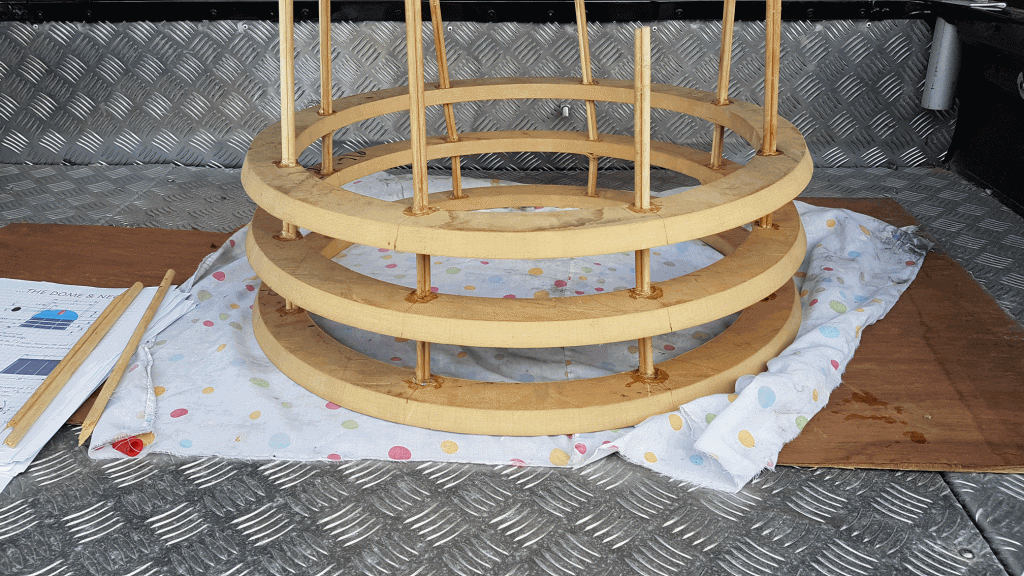
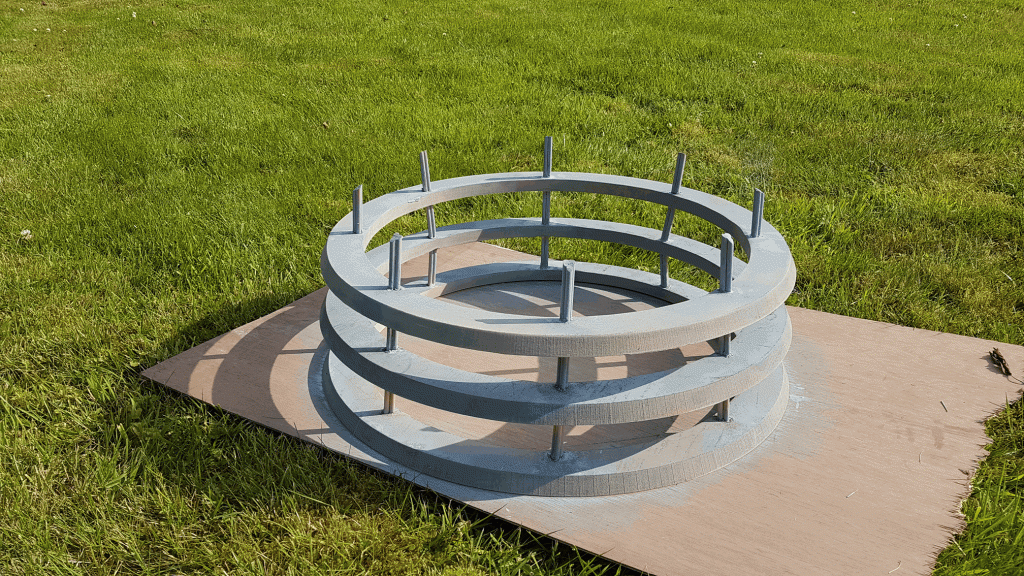
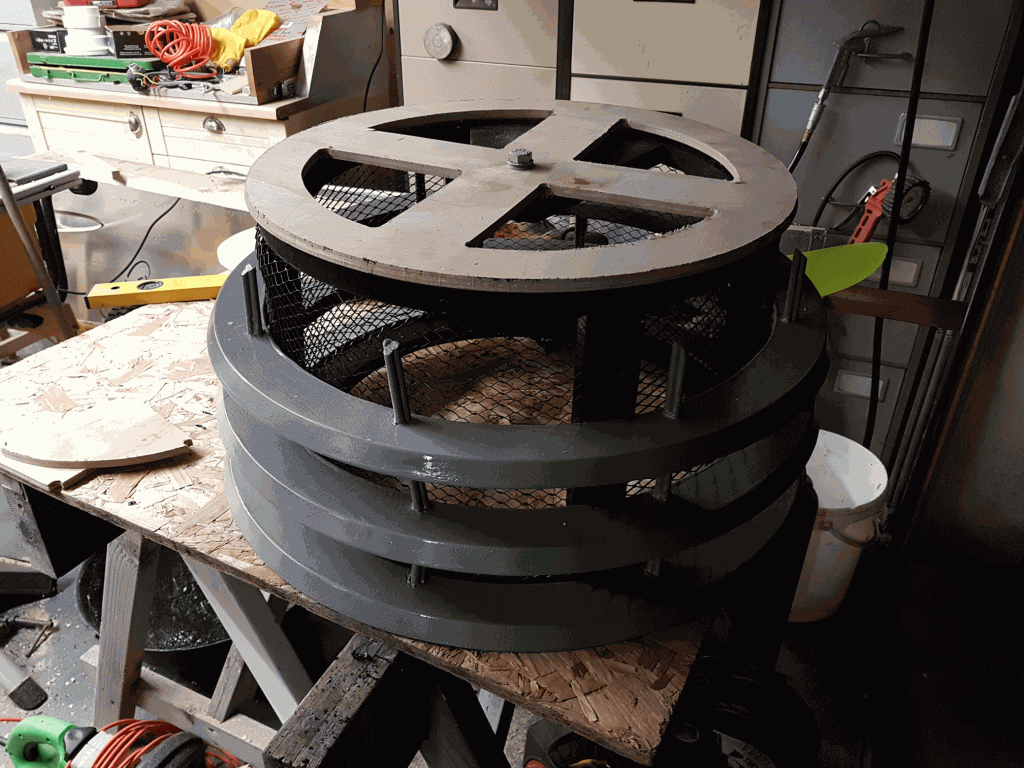
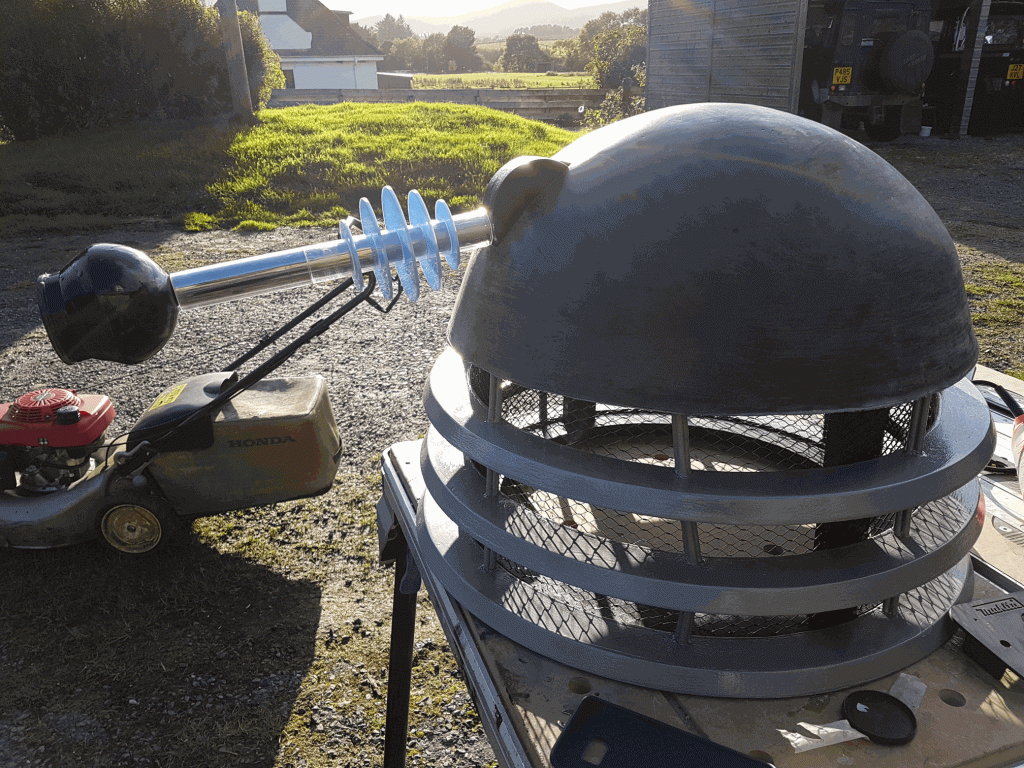
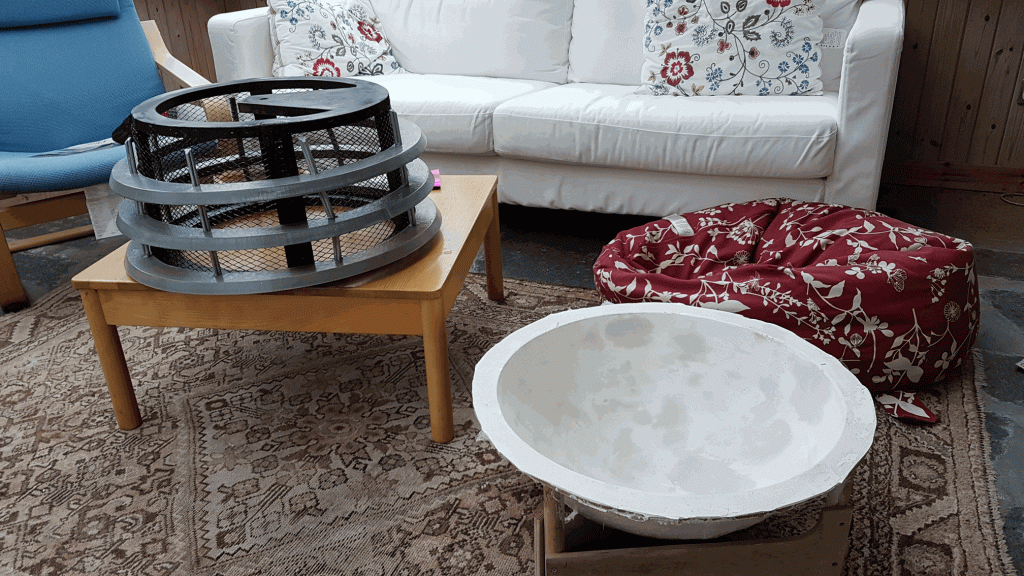
Darik-the-Dalek

Neck Cage

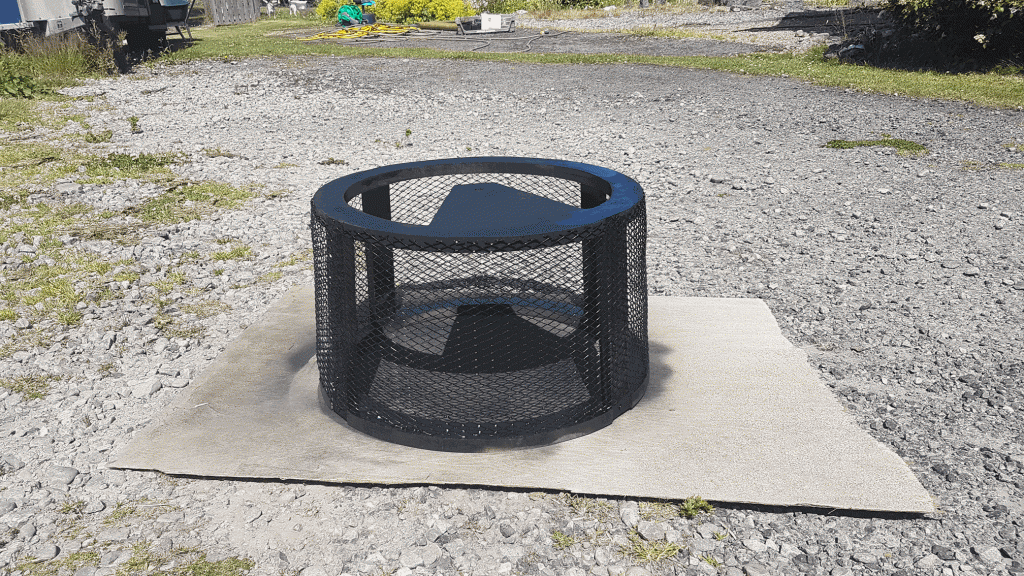
The neck cage comes as two sections. The neck cage and the bin. The neck cage goes over the bin, and then the dome sits on top of the bin.


First to tackle - the bin. This was essentially two circles cut from the plans, and framed to support, with mesh being wrapped around. The dome needs to rotate, so the top circle of the bin was cut so that a bolt could be threaded into the centre. 


Once constructed the neck cage looked pretty cool


Now the more interesting bit, the neck cage. This was constructed again using the plans into three circles. Dowels were cut and each struct comprised of three dowels glued together. Holes were then cut into the circles and the dowels threaded (this was a nightmare).


Once done, the neck cage was undercoated. Sprayed and then laquered.


Next, the neck cage was positioned over the bin. Finally, another circle was cut to the dimensions of the positioning for the dome to sit on. The top of the neck bin had countersunk ball bearings to allow the circle to swivel. This had the bolt threaded into the top of the neck bin. Then, just to check all was ok, the dome was placed on top of the circle, and the dome turn motion works a treat!


Carried out more work on the rings, cut out some of the inner sections to get them to line up more, including a re-sand and re-spray into a higher silver - a little bit of a battle-look to it too I guess :)


Now for the biggy. Attach the Neck cage to the Shoulders which is already attached to the skirt. Marked out the positions and put a mass of coach bolts in. That neck cage is not going to jump off ther shoulders!


Based on the work done for the skirt concerning the electrics, connected up the skirt lights, shoulder lights and eye light - the result is awesome! The skirt lights are hidden up behind the slats, in the dark that gives a more eerie look :)