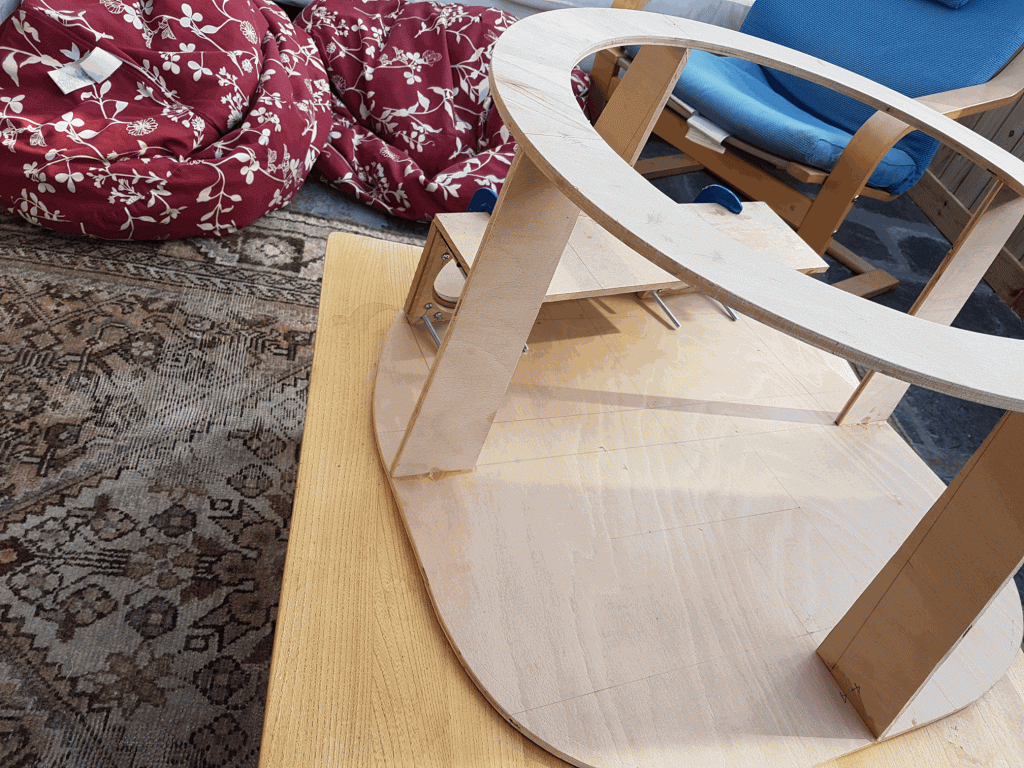
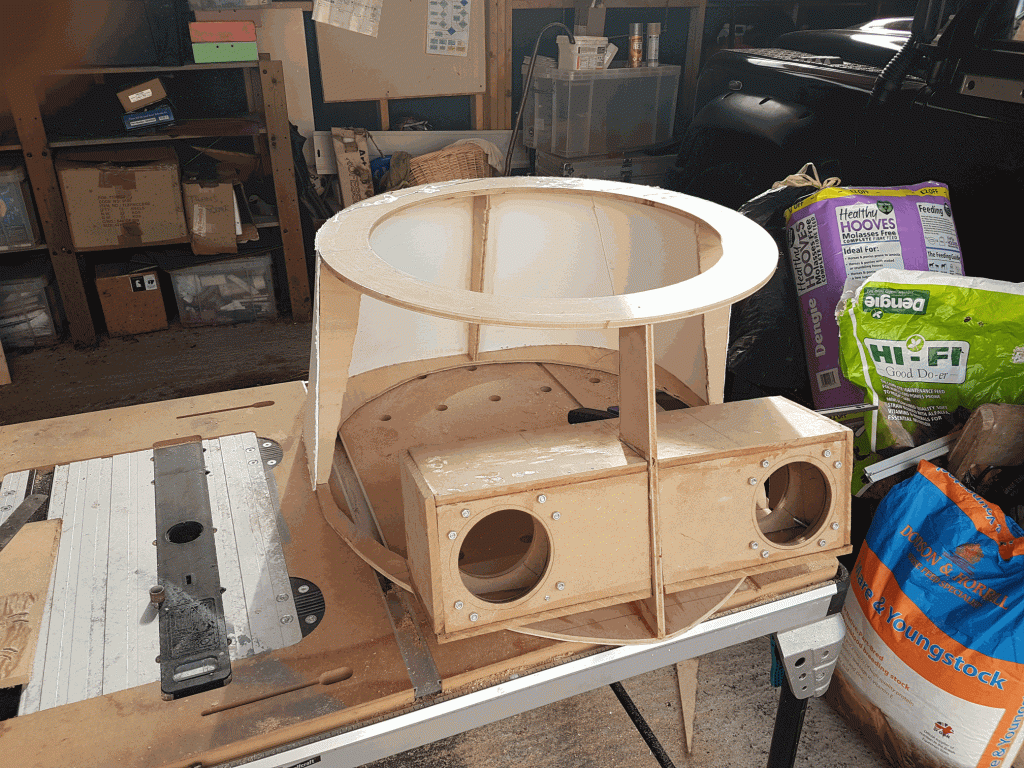
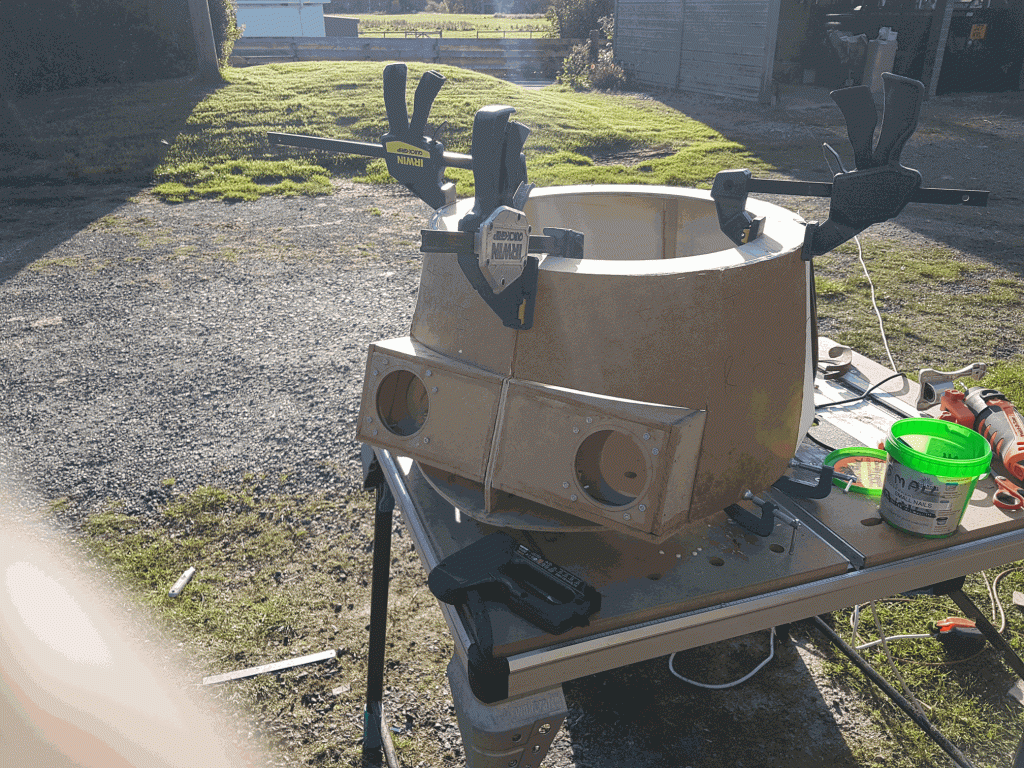
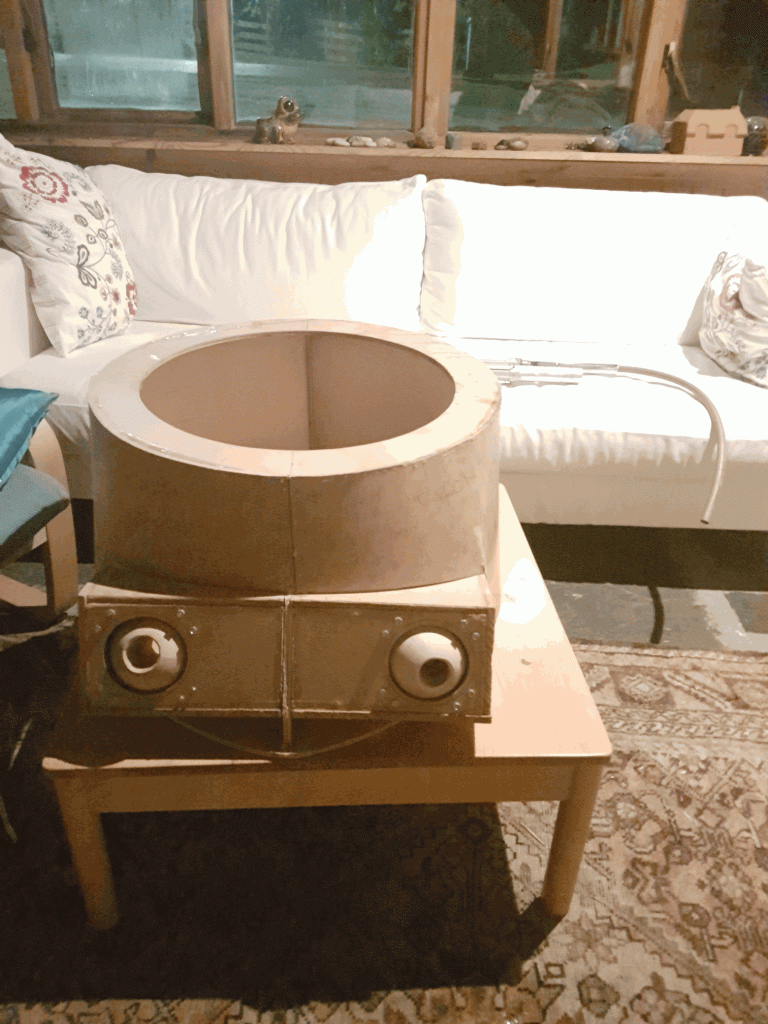
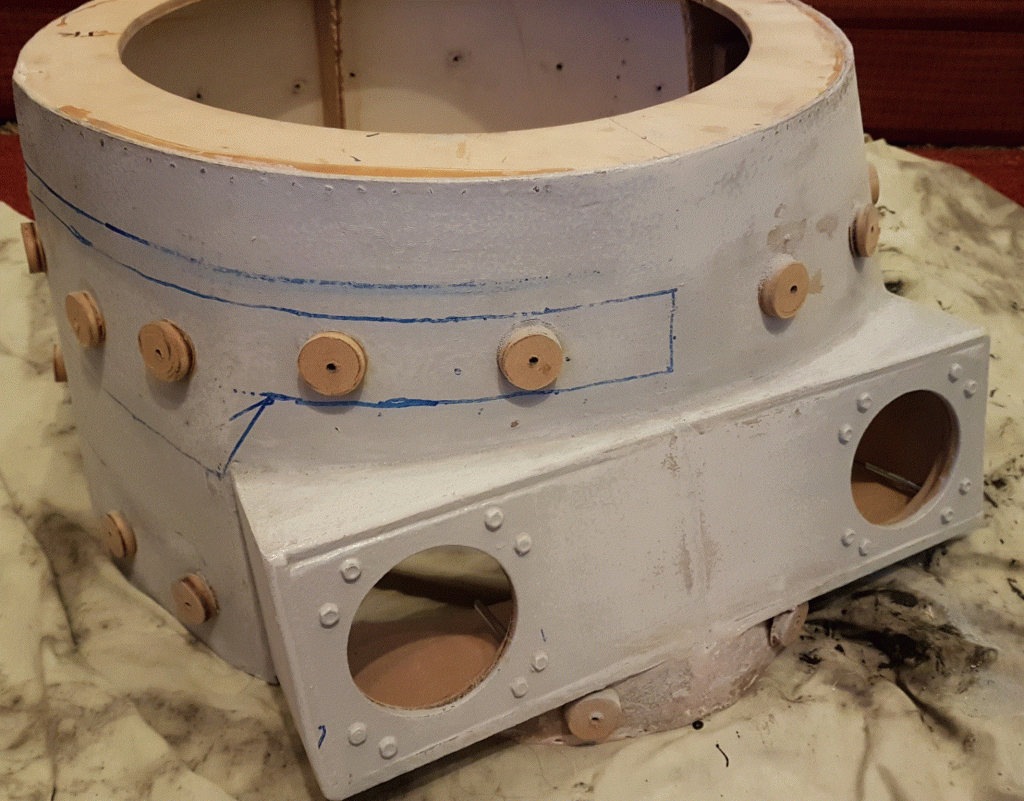
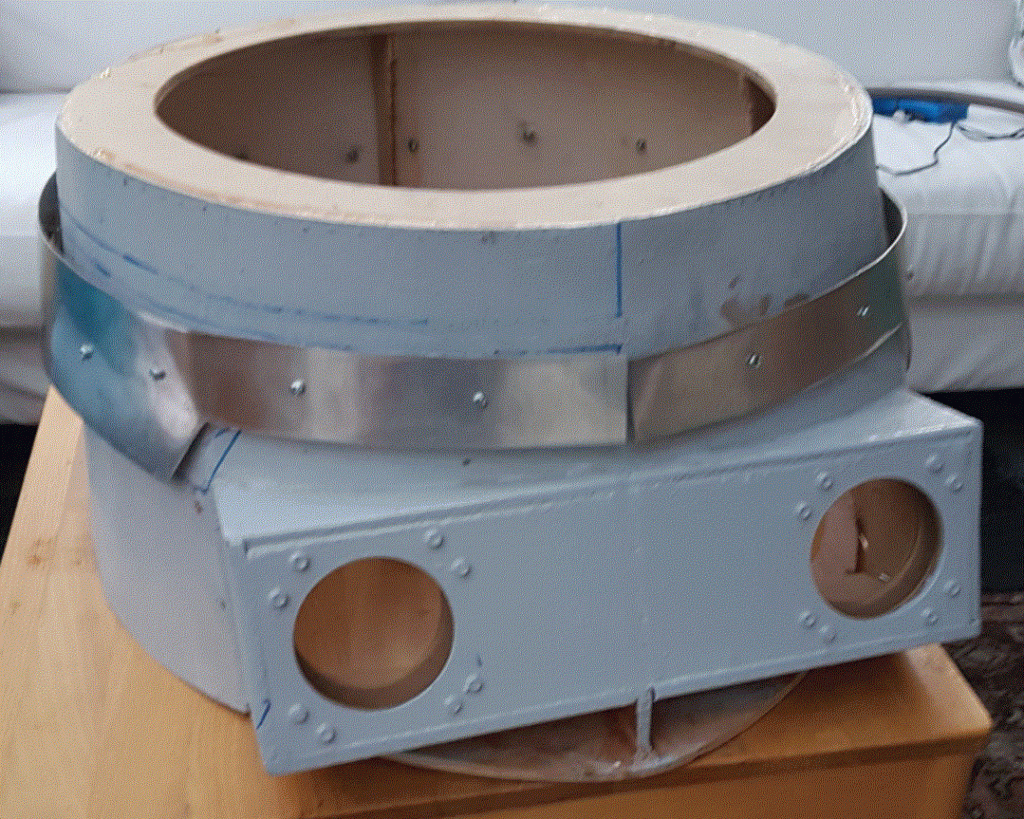
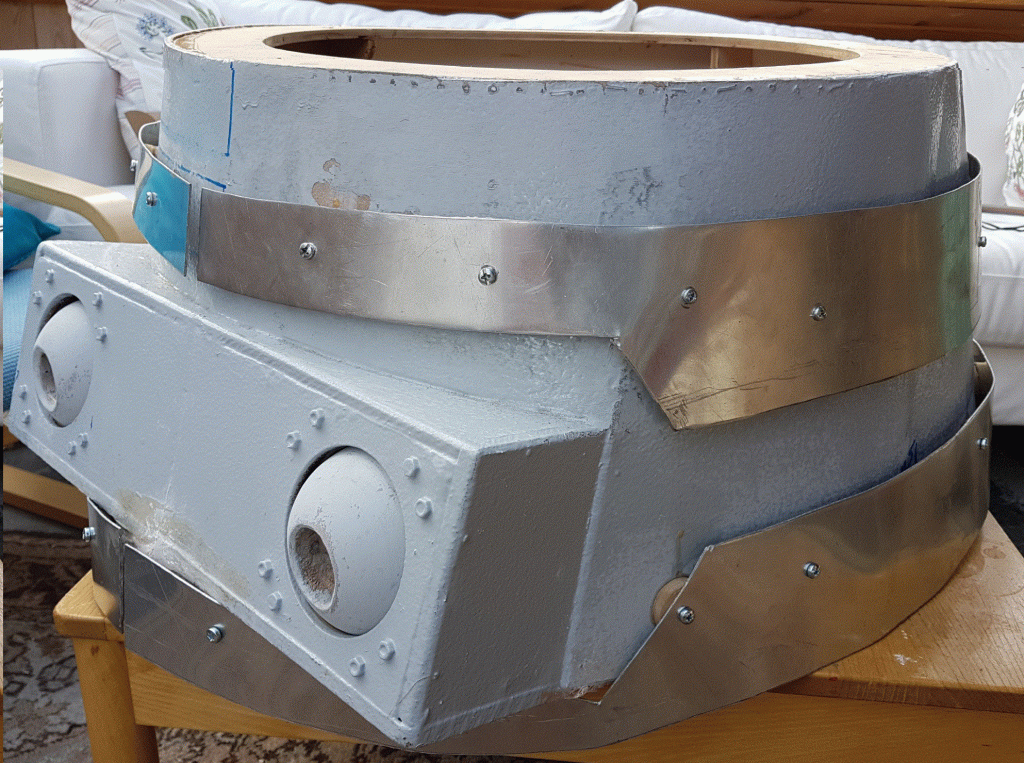
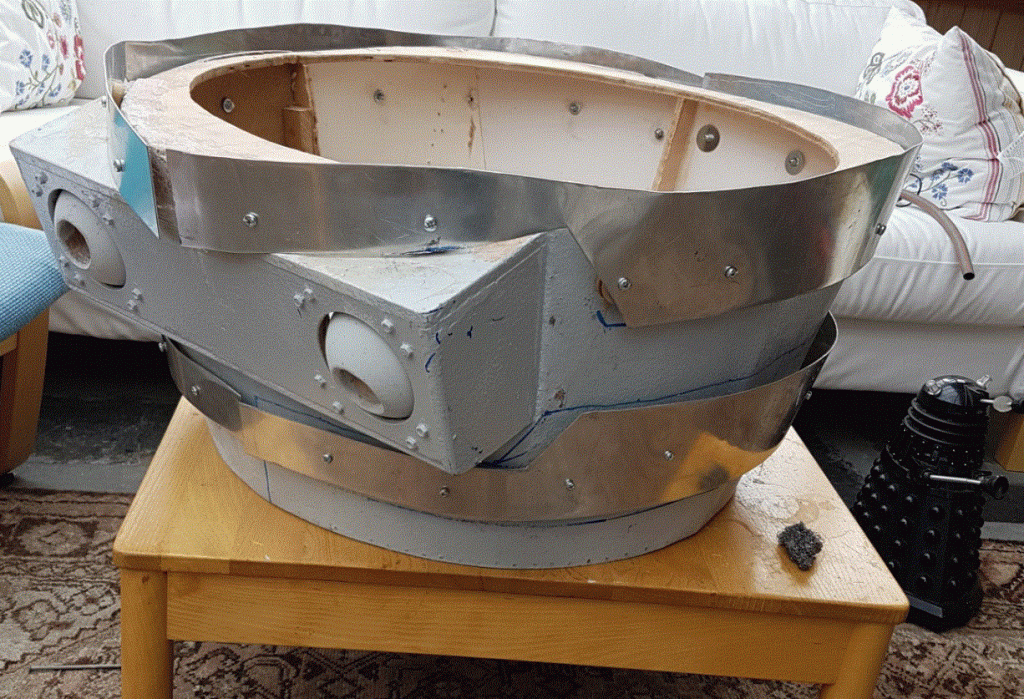
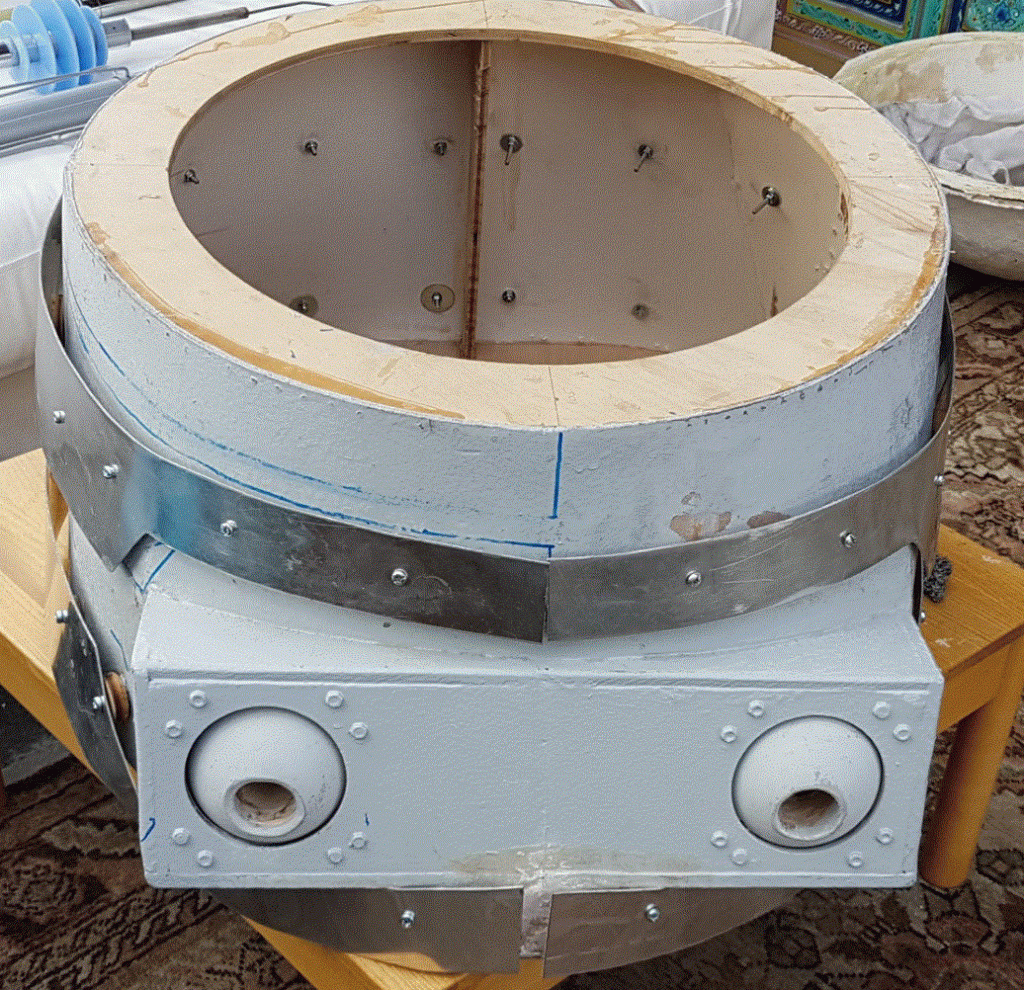
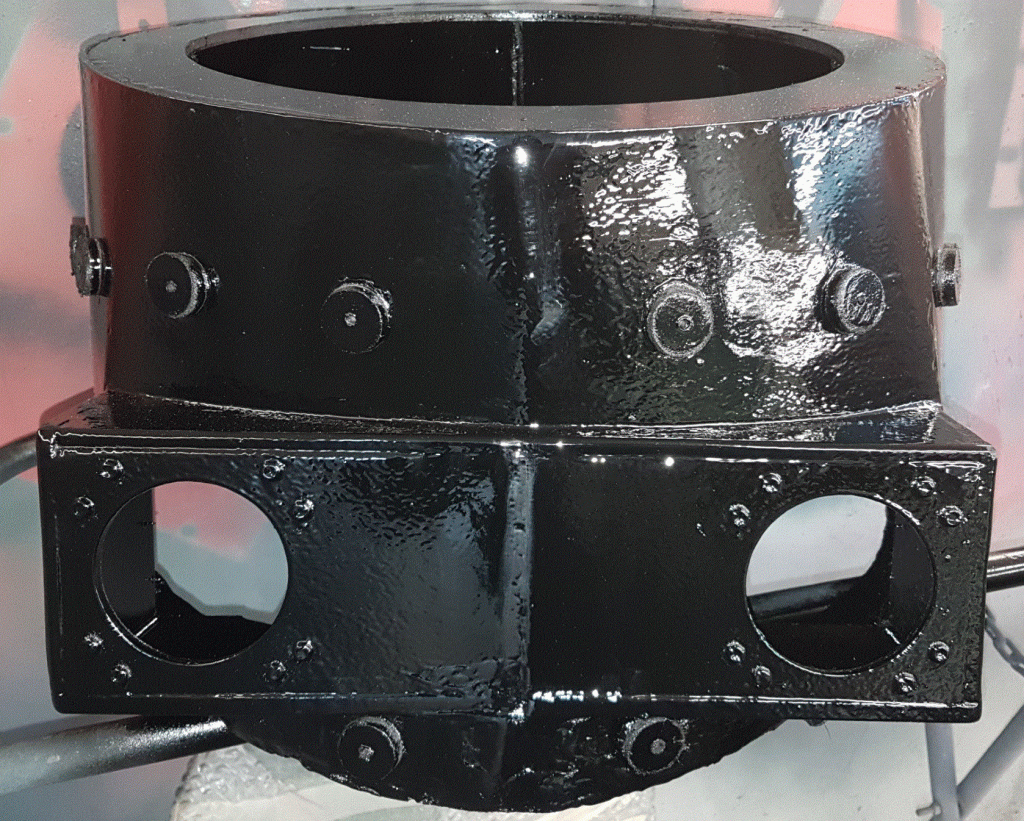
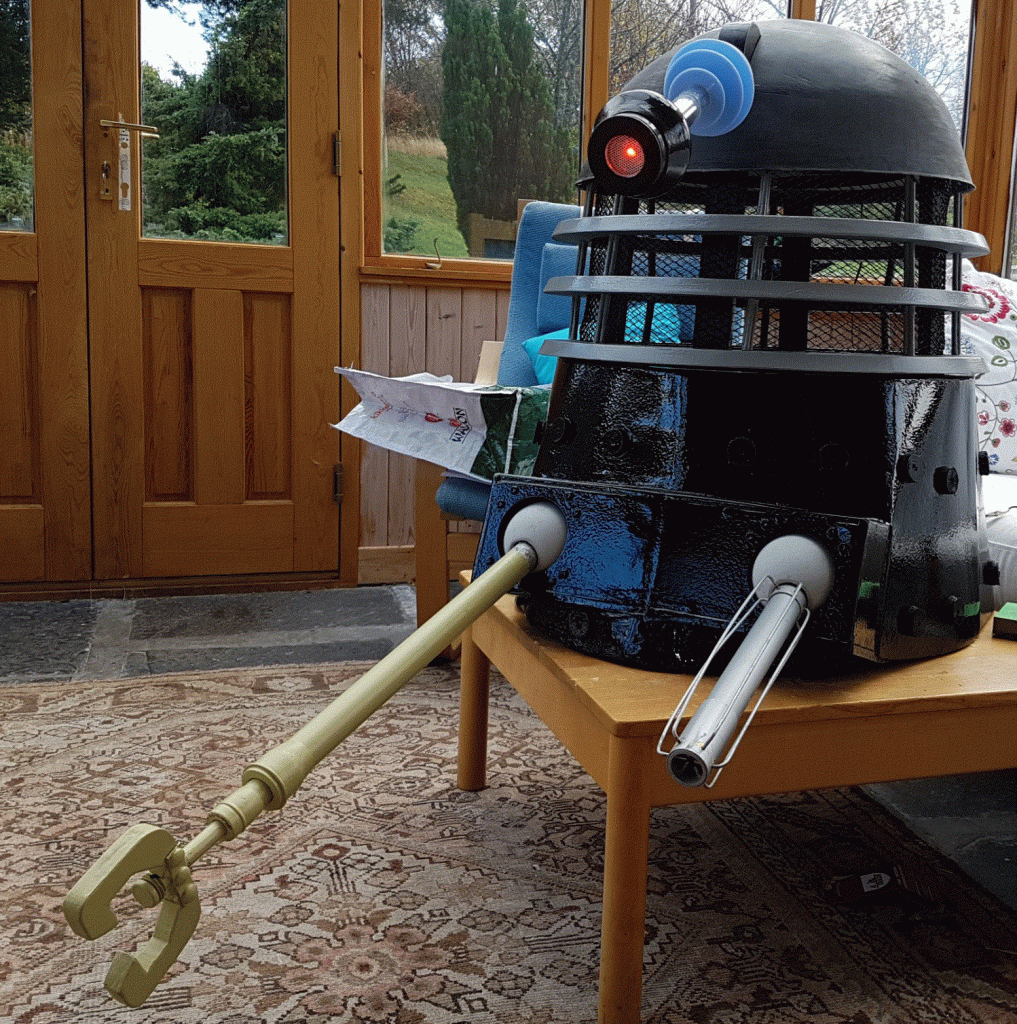
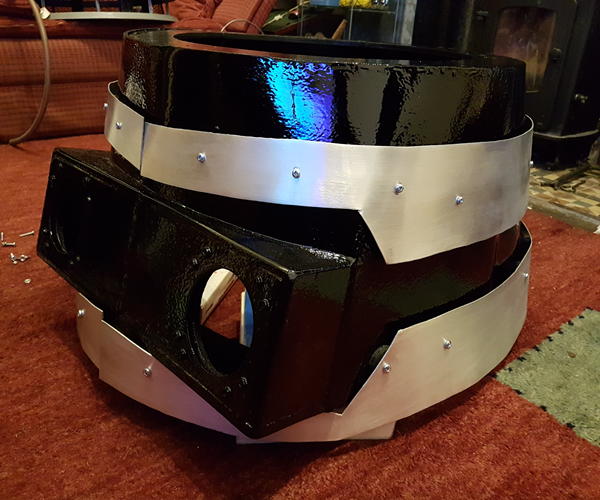
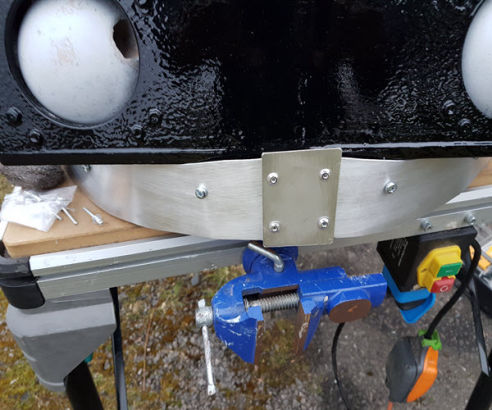
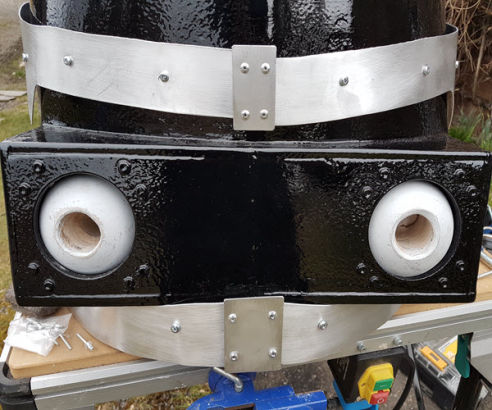
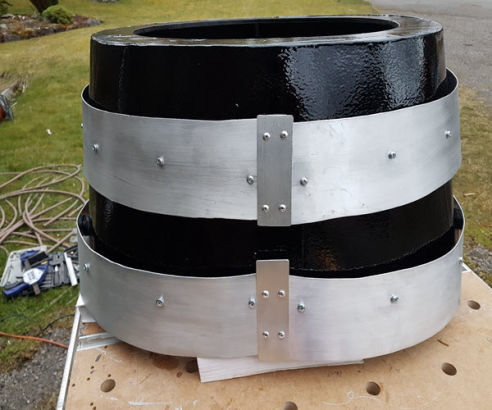
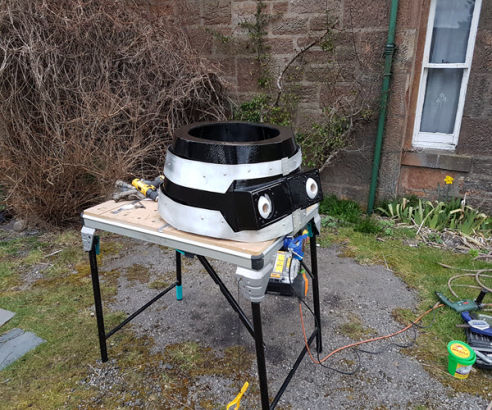
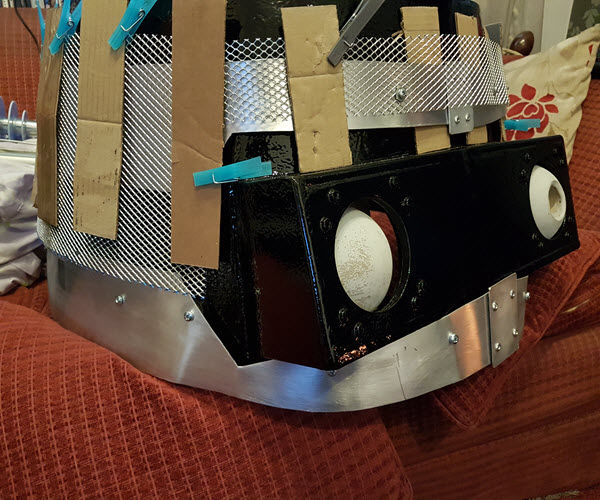
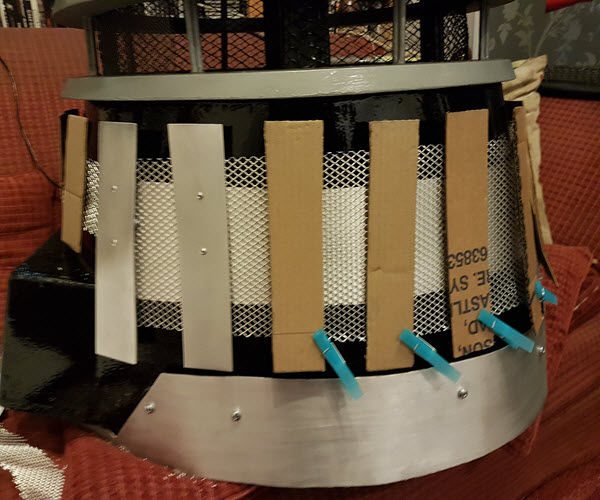
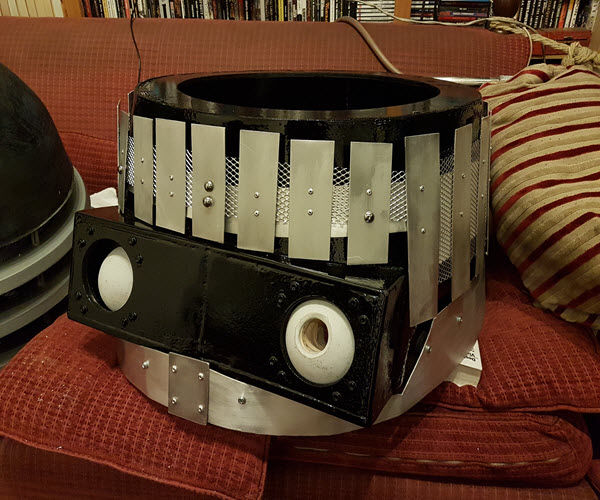
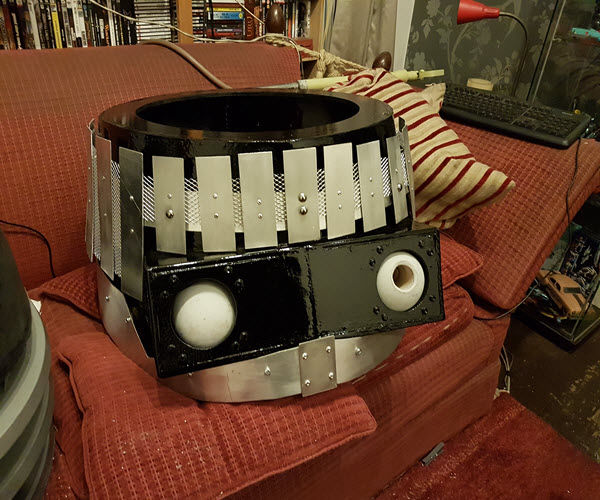
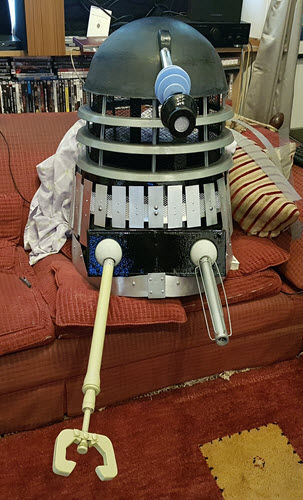
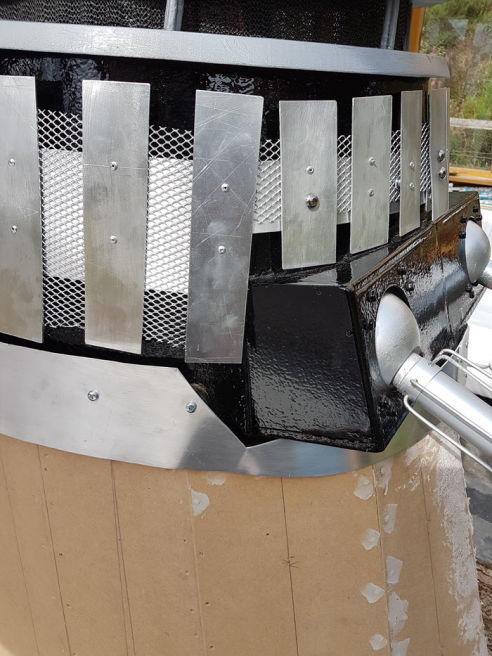
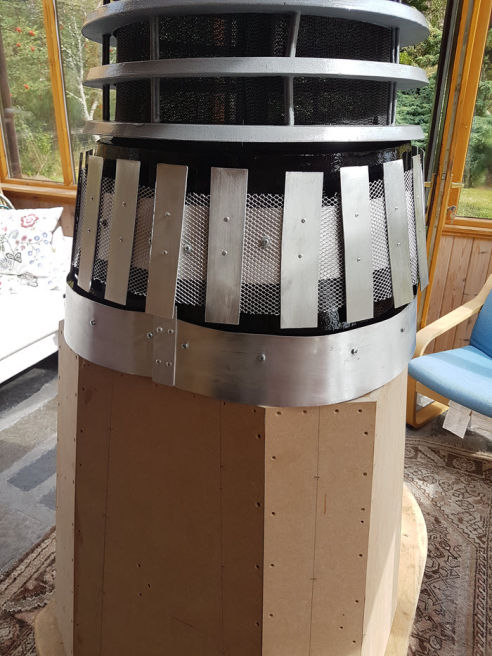
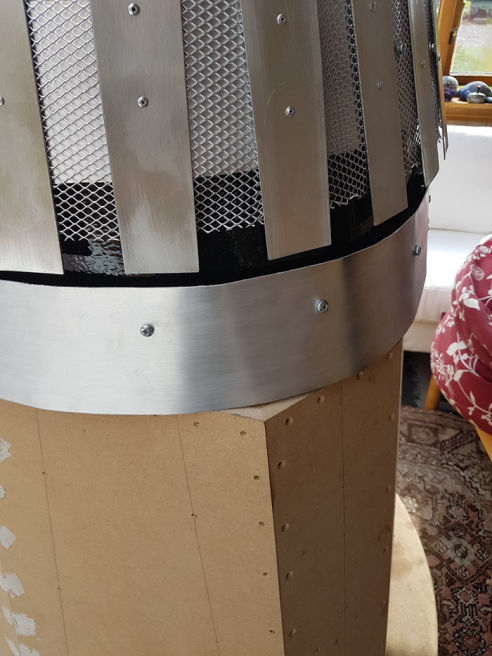
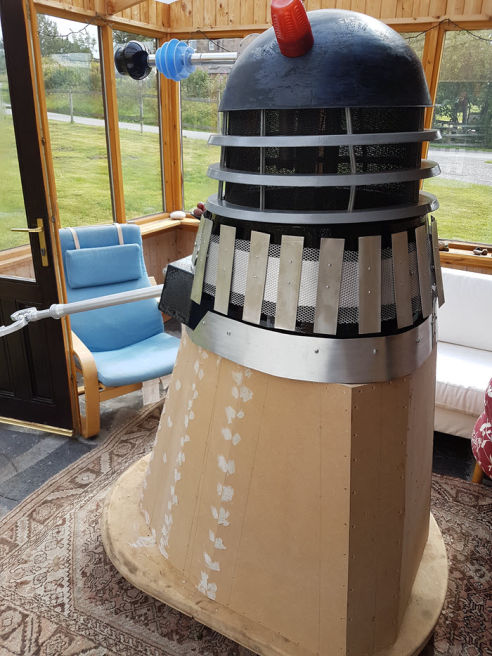
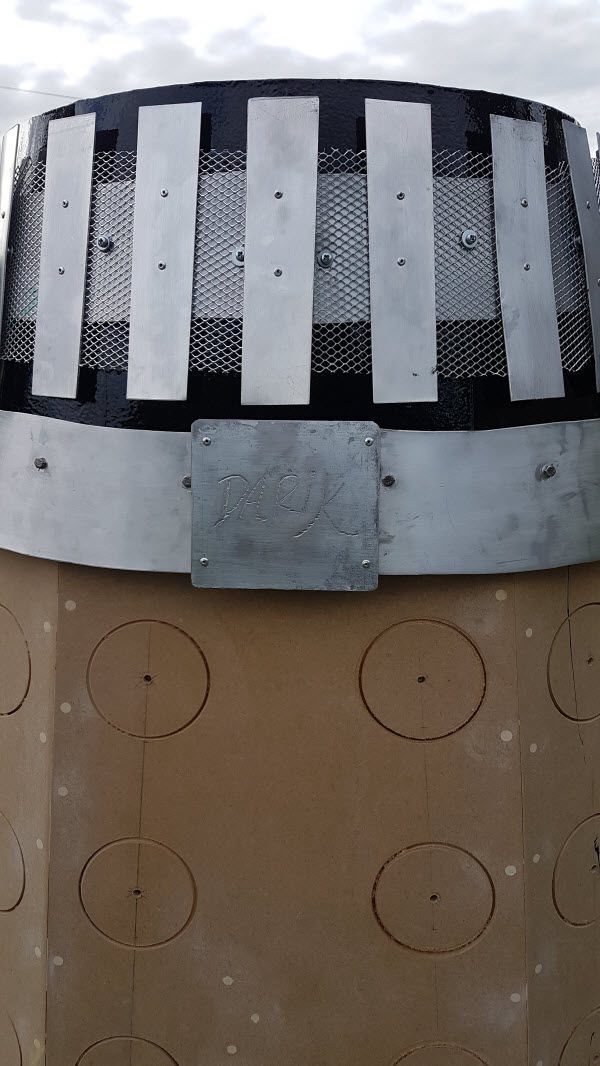
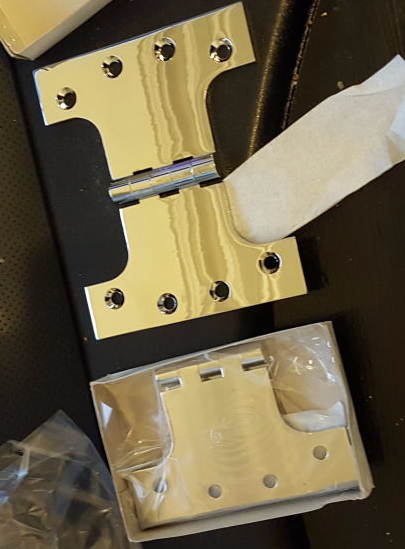
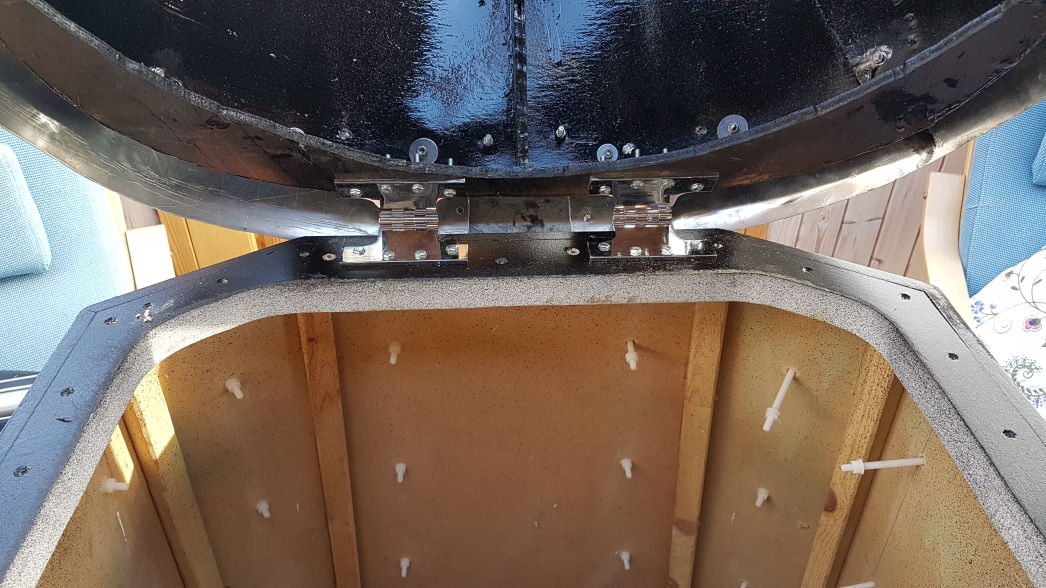
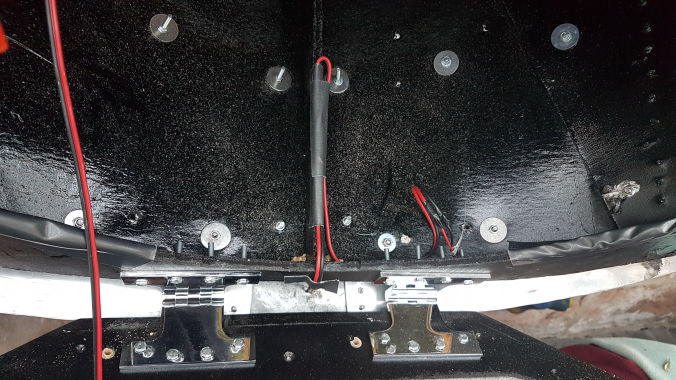
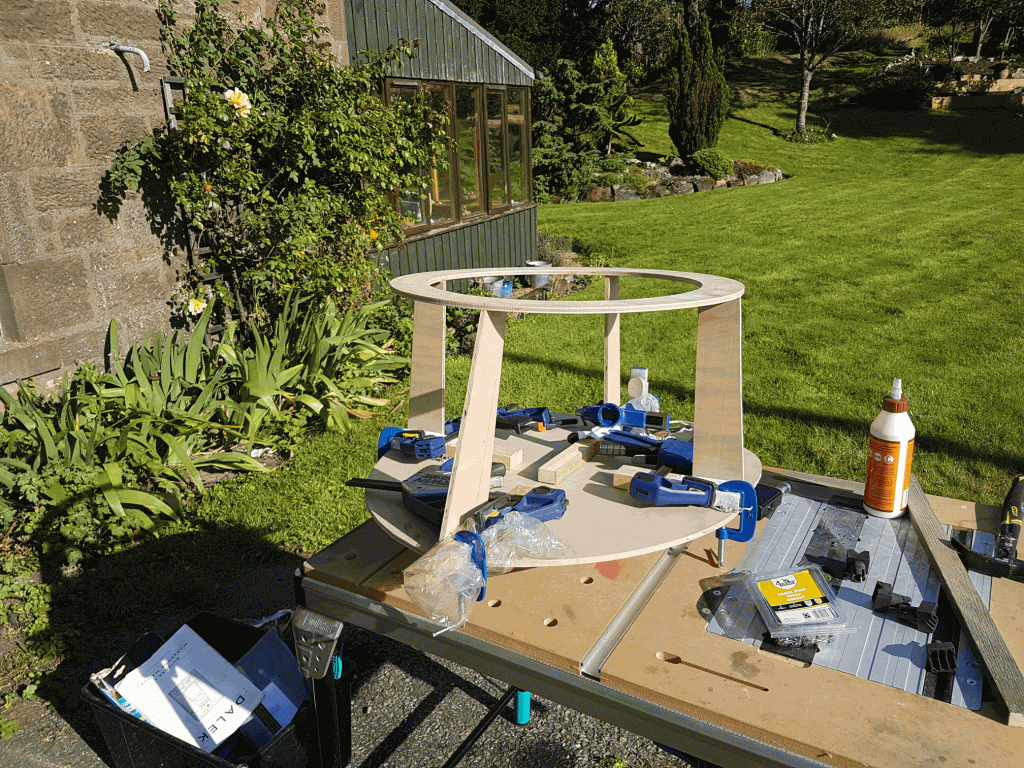
Shoulders

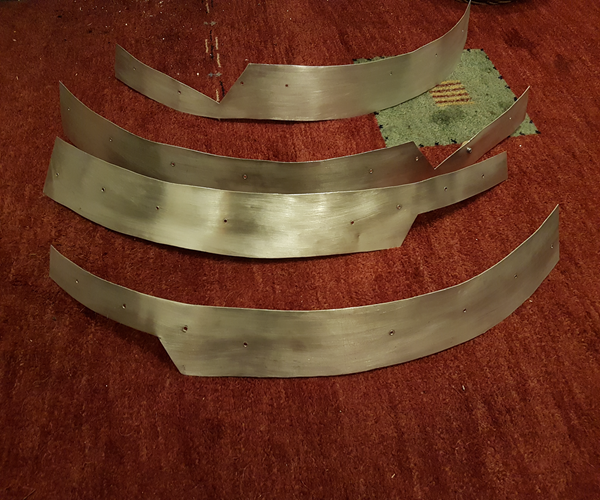
The shoulders of the dalek; one of the most  challenging to build. The gun box has to be built, along with the gun holders, bendy stuff and tons of clamps. The amount of strife on this section was unreal. First, the frame was constructed using two circles cut to plan dimensions. The base circle was left uncut in the centre to allow more stability to the frame.


Gun box constructed and mounted into the frame.


The gun box also needed mounting frames for the gun holders to go into. This was pretty tricky to build and took quite a few attempts to get right. Finally, the bottom of the circle was cut, and the back board attached.


Then, the front board was attached, and after drying, covered in four coats of PVA to seal. The entire shoulders was sanded. The gun holders was constructed and attached into the gun box.


The spacers was a combination of marking out the positions and then replicating them. Did the top section first and then married it up with the bottom.


Next the collars where templated and then aluminium cut. Drilled to match spacer positioning. A hell of a lot of finicking and making sure the drill points for the bottom didn't go into thin air!!!


Ok, thats the top collars connected (still need to finish them off on connecting together). To do the bottom, the shoulders was turned upside down, front filled using P40 and fiberglass, sanded back. The bottom proved to be even a bigger nightmare because the front alumnium spacers had to be sunk drilled before attachment to the front; P40 to the rescue (again) . At last, off to get sprayed. Another shout out to Tom at the car body shop who coated the shoulders in 5 coats of gloss to give it a battle look.


Finally, lets put some bits together to see what the top sections look like (minus the collars).


Now, brush the collars to get a battle look


Next, connect the collars to the shoulders


Now to form the shoulders to match the Movie Dalek. That means mesh and slats, lots of slats. Including a lot of using a rivet gun and positioning of the slats using cardboard and pegs. The slats had to be brushed and sharp sides sorted. During this, I read up on the build history of the Movie Daleks and found they were heavily customised. None looked exactly like the other. Decided to add my own spin by changing from rivets to caps right on the front of the dalek - looks really smart!
First, the collar brackets


Then, rivet them in


Attach the mesh, then layout the slat positioning - this took AGES to get right... Once positioned, started placing the slats. Cut down the mesh to sizing (based on some pictures of Movie Dalek meshing)...


Attached all the remaining slats


Finally, put some bits (all of which need finishing) into position to see what it looks like - am pretty chuffed!!!


Further construction on the shoulders halted whilst the skirt was built. Reasoning I guess is that this is where things could be interesting getting them both to fit. Check out the skirt section and you'll see that there was a time when the shoulders was firstly put on the skirt. The following pictures shows the result...


mmmm... a little out at the back...


Ok... So not entirely happy at this point but hey suspected there may be a problem with the shoulders not fitting over the skirt. Thats because the shoulders was built beforehand. No problem! Time for a resize on the lower collar...


Crafted bigger spacers to ease out the collars from the back. Remade the back plate and decided to get a little creative and label Darik :) Next - attach the shoulders to the skirt using MASSIVE hinges. Thanks Simon for the aid on this one! Took some doing this. Had to talk a little off the bottom of the back plate so that the shoulders could open up a good way so that someone can get in it :)


Include fixings for electrical points in the skirt...

Darik-the-Dalek